
How to Photograph your Art
Feb 22, 2021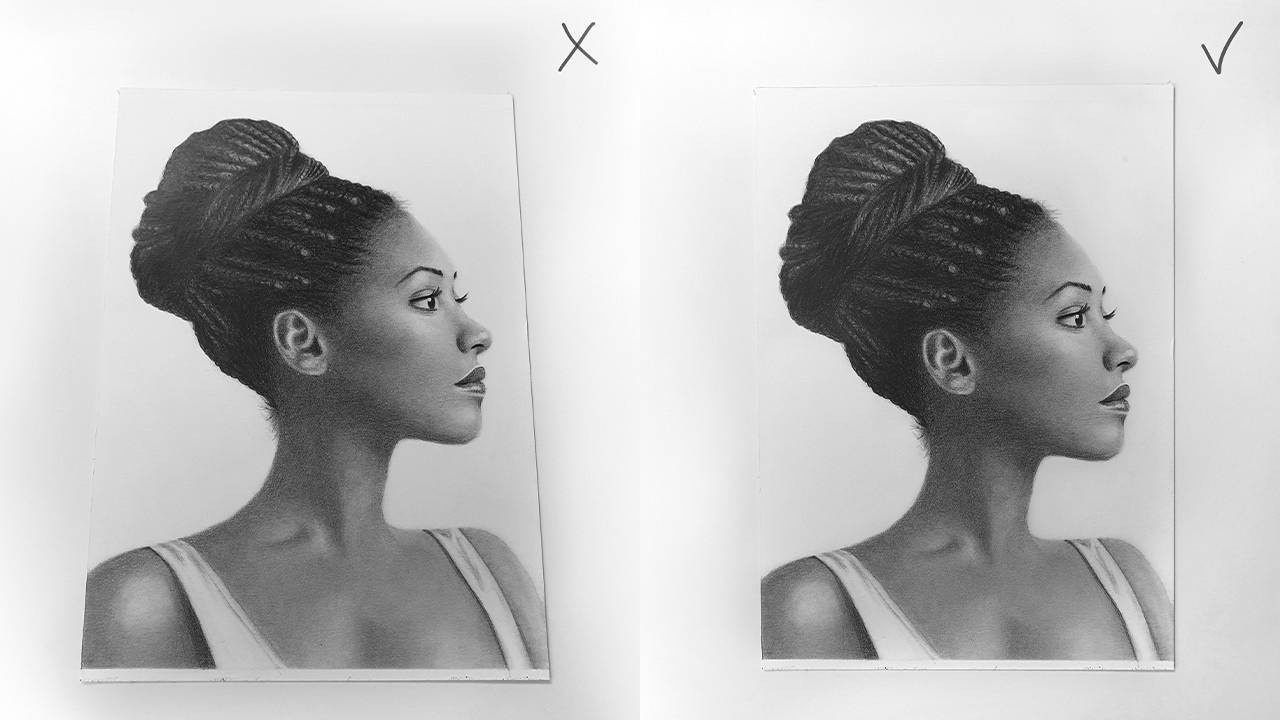
If you want to share your artwork online or create an online portfolio, you need to create good-looking photos of your artwork. You also want your photos to look as natural as possible.
Here are some tips:
Use a relatively new smartphone or camera
If you don’t have a camera you can just use your phone. Most of us have a relatively new smartphone with lots of camera options so you can use your phone to take a photo of your art. It’s quicker and easier.
Use natural light but avoid direct sunlight
Most cameras handle artificial lighting poorly. You will get crisper and sharper photos when you use daylight. You can put your drawing next to your window (or find an area where you can get a lot of daylight) but try to avoid direct sunlight.
If it’s not possible to take a picture during the day try to avoid artificial (warm) light. You can buy a natural daylight light bulb to get clean white light (other bulbs give off a very yellow light).
A daylight lamp is also better for your eyes especially when you draw a lot at night.
Don’t stand between the light source and your drawing
When the light source is coming from one side and you take a photo you might cast a shadow. So try not to stand between the light source and your drawing because casting a shadow on your drawing will ruin the photo. Make sure you’re standing on the opposite side of the light source.
Photograph your drawing parallel from above
If you want to frame your photo or sell your art online you want to make sure that your camera or phone is parallel to your drawing. That way you will avoid distortion.

Take multiple photos and choose the best one
While taking the photo you need to try to hold still which isn’t always easy, that’s why it’s best to take multiple photos. Afterward, you can zoom in to see if the photo is sharp enough, a blurry photo means that the camera moved while taking the photo.

Edit your photo on your computer or on your phone
Some examples of free editing software
Phone: Pixlr, Snapseed, VSCO
For an easy edit of your photo follow these 4 steps:
Step 1: Crop the photo
To remove any unwanted background and to put the focus on your drawing
Original Cropped

Step 2: Saturation
Decrease the saturation to remove any yellow/blue shades. If your drawing is made with graphite or charcoal you can decrease the saturation completely (no saturation = no color).
Original No Saturation

Step 3: Brightness
Increase the brightness a bit to lighten the whole photo (just a bit).
Original Brightness

Step 4: Contrast
Edit the contrast to darken the shadows a bit or to make delicate pencil strokes more visible (only if needed).
No Contrast Contrast

Emmy
_
Want to read more? Check out the other topics here.
Want to be notified of new blog posts?
Sign up and you'll receive an email when a new blog is posted.
We won't send spam and you can unsubscribe at any time.